
Making a Bento Box quilt is not only a great deal of fun, it's also intrinsically creative. Using nothing but scraps (and my secret technique of selecting a color range based on being slightly off of the original focus fabric's colors) allows for a much more liberated feel to the entire project.
I had a few emails asking me how I'd made mine for the Bento'ed Out of My Box wedding gift quilt (they absolutely loved it!) and thought I'd share my easy liberated free piecing techniques. With a grateful nod to the original pattern, (which I have never seen) and without following any one else's directions, I simply created my own copyright free version. And with the addition of some free-pieced liberated mile-a-minute blocks in random chaos (many with deliberately disappearing edges) it sure makes for a wonderful optical illusion that encourages others to think you are far more talented than you truly are ;)
Since most Bento Box tutorials only show the making and cutting into quarters of a single block, I decided to showcase a variety of randomly created blocks to show how easy it is to add variety and use the simplest of scraps that you might have available in your scrap bins.
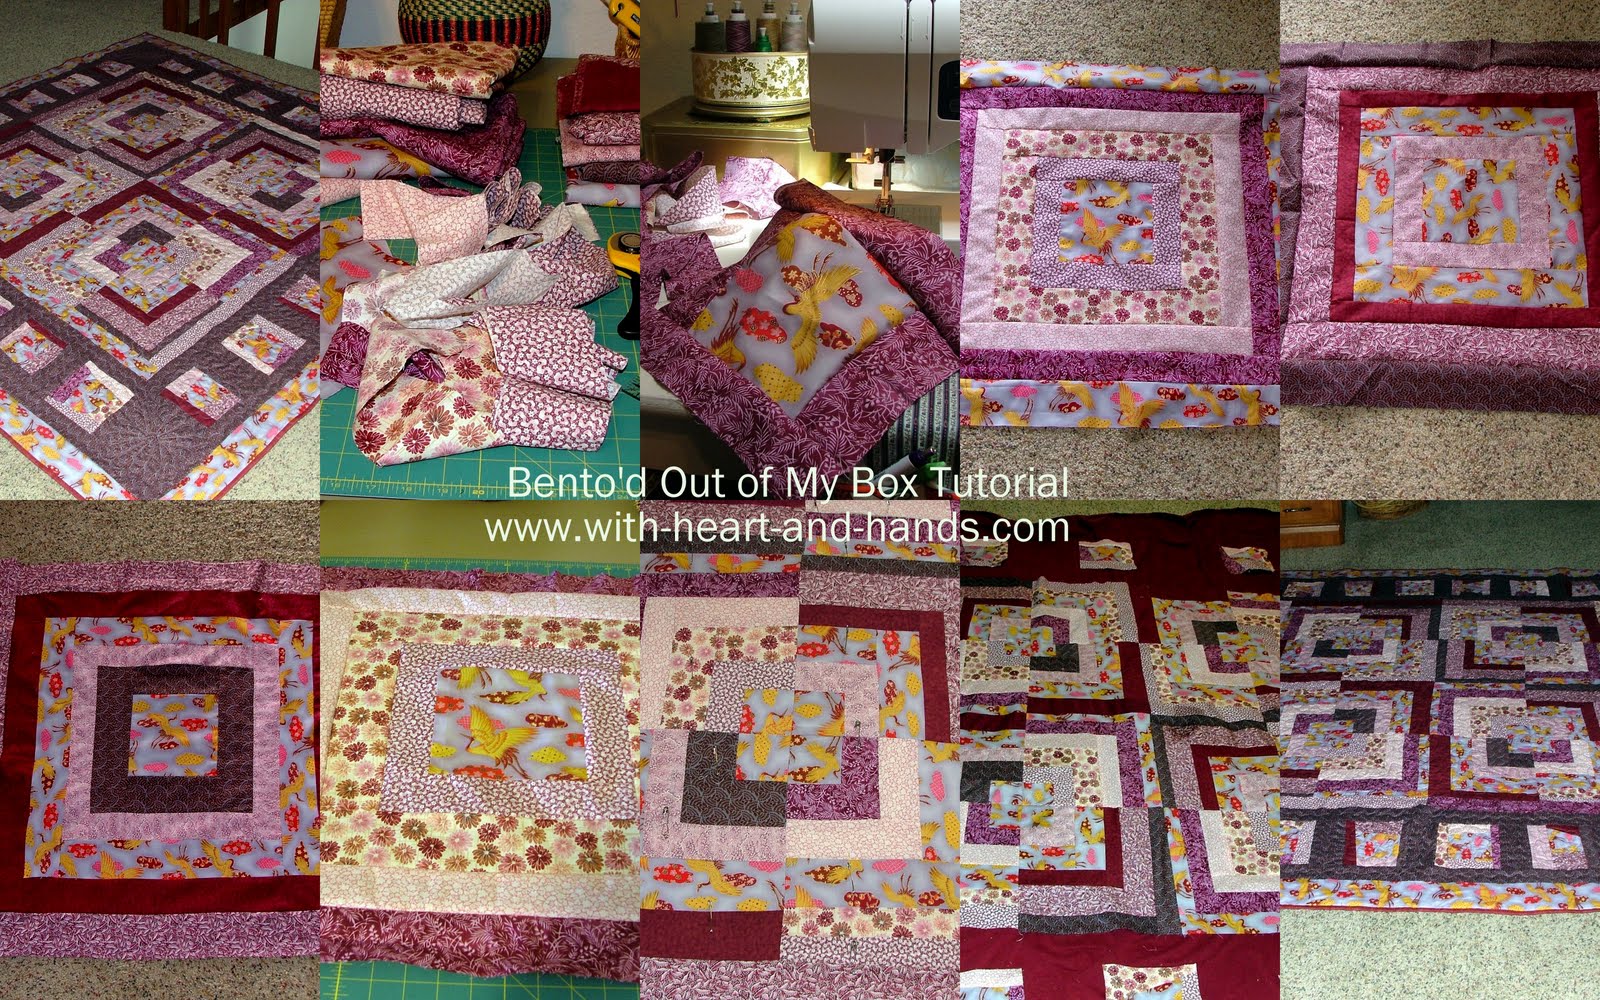
 Blogger has lost all of my step by step photos.
Until I replace all of them, the collage above will help you identify the photos for the steps.
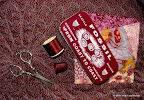
Step 1: Select a larger variety of randomly almost but not necessarily coordinating fabrics. Be free with your choices, values, color ranges, and focal variety..it's a lot more fun that way!
Step 2:
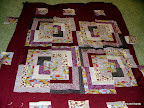
Select random center squares of a size of a choice...5", 6" ...whatever you want. Then simply add your logs...any size, any way you want... to alternating sides or tops/bottoms. I show my four different 'happy blocks' to display the variety I used.
I knew when they would be cut into quarters that I would prefer a variety of lights and darks, so two of my blocks have some lighter strips and two have some darker.


Step 3: Take each individual happy block and cut each one into quarters. (not shown, photo is in Salem, Or and I am on Douglas Island, Alaska)
Rather than measure, (remember I am using a liberated version!) simply fold a block in half one way...cut it open on that fold. Fold the block in the other direction, cut in half on the fold. You want 4 quarters from each block. I then had 16 smaller sections as a result.
Suddenly, you have your opportunity to mix it up! Mix and match the 16 quarters into new and amazingly random blocks. Such fun! Don't be too particular, but squint your eyes and see the values just a bit for some balance amidst the wonderful chaos!

Step 4 option: My extra bonus: randomly pieced mile-a-minute blocks all kitty corner and full of fun. Randomly placed, I later use my background fabric to sew side strips to each one, then top and bottom strips...box them in, but bento'ed for an overall look to the entire quilt.

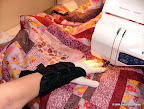
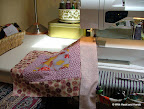
Steps 5, 6, 7, and 8: Finish like a traditional quilt. Once the top is all pieced, and bordered, create a backing, add your batting, and quilt as desired! (skip the broken wrist brace unless absolutely necessary ;)
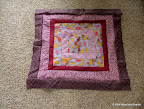
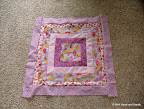
And you're done! And you know what? It was so much fun, you actually wish you weren't done yet...so have even more fun and add your bindings, your label on the back and any other little touches that make it your very own!
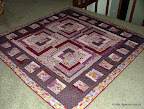
My free-pieced, free color range "Bento'ed Out of My Box" Bento Box quilt.
Michele Bilyeu Quilts With Heart and Hands for the Alzheimer's Art Quilt Initiative (AAQI) Join in my Liberated Quilting Challenge...and buy or donate a quilt, today!! We are changing the world...one little quilt at a time.Michele Bilyeu blogs With Heart and Hands as she shares a quilting journey through her life in Salem, Oregon and Douglas, Alaska. Sharing thousands of links to Free Quilt and Quilt Block Patterns and encouraging others to join in the Liberated Quilting Challenge and make or donate small art quilts to the Alzheimer's Art Quilt Initiative (AAQI) Help us change the world, one little quilt at a time!
13 comments:
I love it. I will give this one a try as soon as I find some time. I do have enough scraps, lol.
Thank you sooo much for the great Tutorial.
Kerstin
Great tutorial. Yet another quilt to add to mywant to make list.
..and the "to-do" list just keeps on growing! ;) Great tutorial, Michele! I believe I will skip the wrist brace, hope you're doing well, remembering you and your family in prayer.
I have enough scraps, too! lmao.
Thanks for the great tutorial. I had seen this quilt, but never knew how it was made, it looked so complicated. Thanks for taking the mystery out of it.
Love your blog, read every word! :) :) :)
It does look like a lot of fun to make, especially the way you make it.
I'm going to make this too. I love the use of scraps and how it turned out. Hugs
Wow. What a tutorial. You're amazing. Your free-pieced, free color range "Bento'ed Out of My Box" Bento Box quilt is so much fun.
The Bento Box is one of "those" quilts for me ~ I've wanted to make one, purchased the pattern then gave it away. The rigidity of it was just too much for me.
Now YOUR version ! I can SO see myself making this (and heaven knows I have enough scraps). . .
THANK YOU for sharing your tutorial!!!!!
Thank you for this. I want to do one of these someday, but not just yet, so now I know where to find the info I need when I'm finally ready!
Love this tutorial! Thank you, I really like your quilt.
great tutorial! awesome for beginner liberated quilters!
Oh, thank you! I had liked the look of these, looked at the pattern and thought...nah. Can't do it. Now am ready to try. This might be fun to do with paper, too, as the from of a card.
I'm inspired by this pattern to create my own Bento Box Quilt
Post a Comment